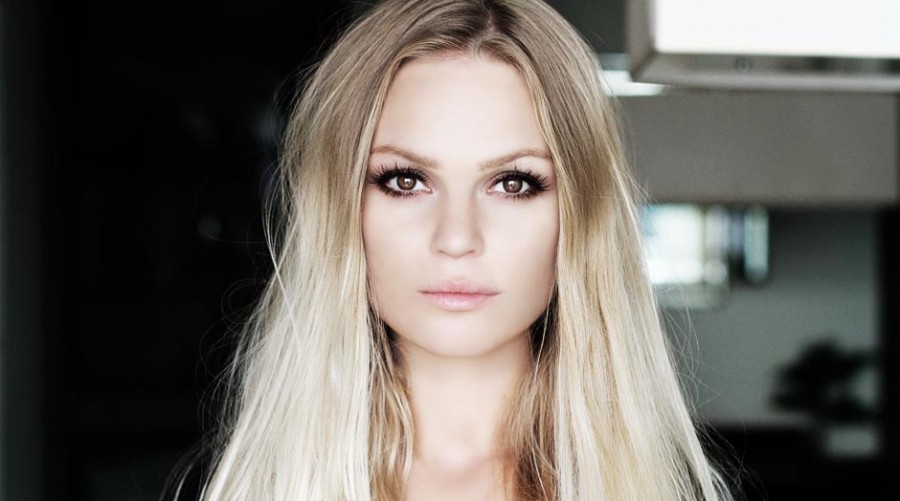
Firstly, thank you for your sweet comments on my pictures in this post and on Instagram (search for bycelina if you wish to follow me too). A makeup tutorial of the look was highly requested so I will share how I did my makeup in this post, as well as a few contouring tricks that might come in handy if you’re off to a photoshoot.
1. Start by prepping your skin with a moisturiser and let it sink in for about 10 minutes. If your skin is very dry or you suffer with skin conditions like rosacea or acne with inflamed patches, it might be of help to also use a primer like the La Roche-Posay Cicaplast (which actually isn’t a primer at all, but I discovered it for this purpose through the talented makeup artist Lisa Eldridge).
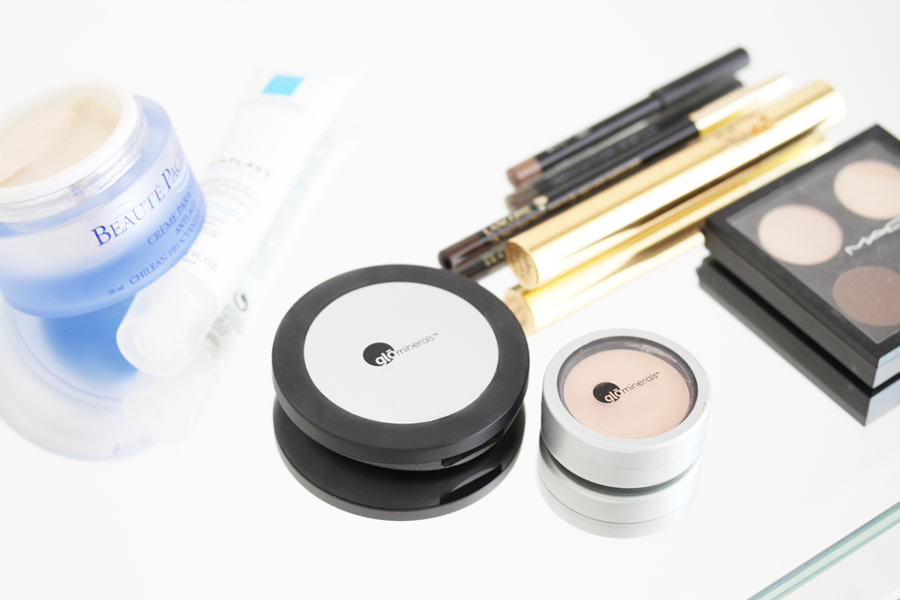
2. If your skin is very dry you can use a foundation, but I recommend using a powder as the finish will look better on camera. Cover any spots with a concealer, and cover your under eye area if you suffer from baggy eyes. I used Glo Minerals gloPressed base followed by a few touch ups of Glo Minerals gloCamouflage concealer on my spots. A great way of applying a concealer is to use the tip of a brush, and then dab it lightly with a finger until it’s melted into your skin. Try to fight the urge to rub and smudge ;)
Nota bene: Don’t use moisturiser, primer or foundation with SPF in as it will make your skin appear shiny.
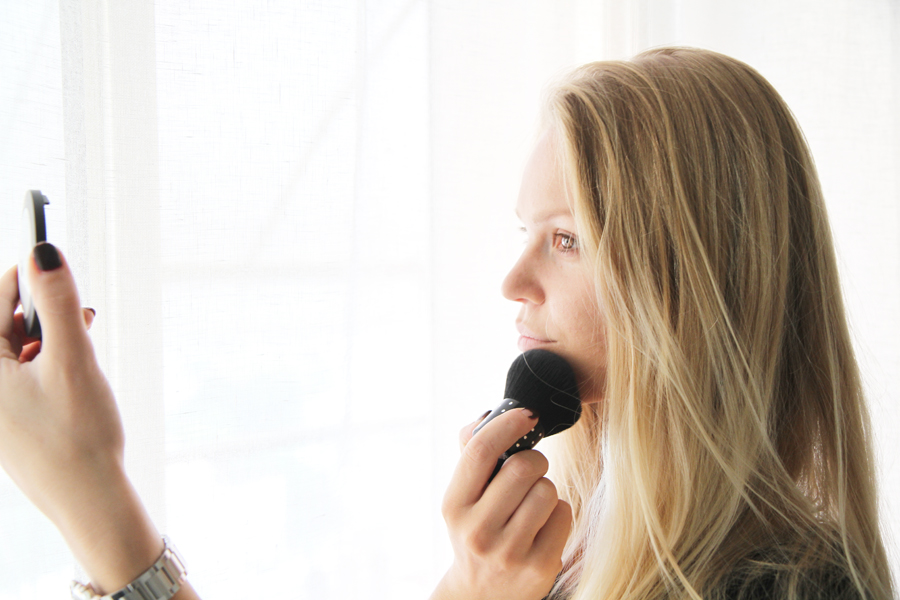
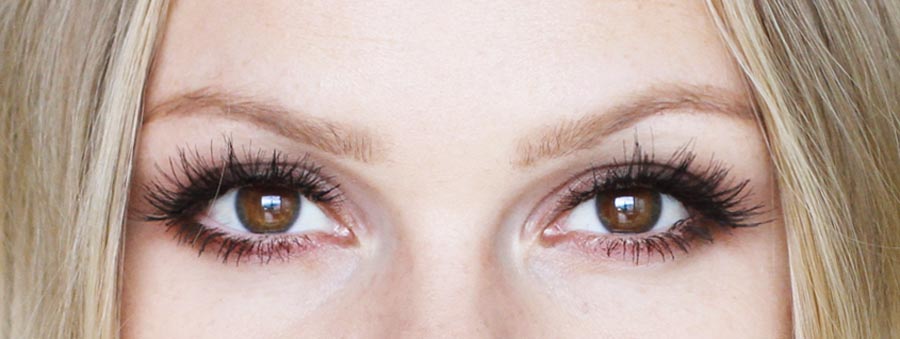
3. Onto the eyes. I washed a matte eyeshadow (Mac Brule) over my entire eyelid using a fluffy brush. I then blended in some of the contouring blush (which I will be talking more about later on) in the crease and carelessly lined my lashline with a brown pencil from Lancôme. Using a small flat brush and a brown eyeshadow (Mac Cork), I smudged the eyeliner to make it softer, you can read more about that technique here. I also repeated this technique on the outer part of my lower lashline, making it fade in towards the tear ducts. To finish off I applied my favourite fake eye lashes. The lashes are far too long in real life, but they always look amazing on camera. I used no. 113, but no. 120 is also gorgeous! You can find them here and here. Lastly I applied a bit of mascara, using YSL Faux Cils.
4. After having applied powder, the natural shadows of the face gets washed out so we need to contour the face again. This is when I will let you in on my secret love affair with contouring products. I have been a massive contouring geek and I have probably over 30 different contouring products in my drawer. My favourite contour product over all is… drumroll.. NYX blush in the colour Taupe ($5), which is the perfect matte shadowy colour for contouring, and I applied it like this:

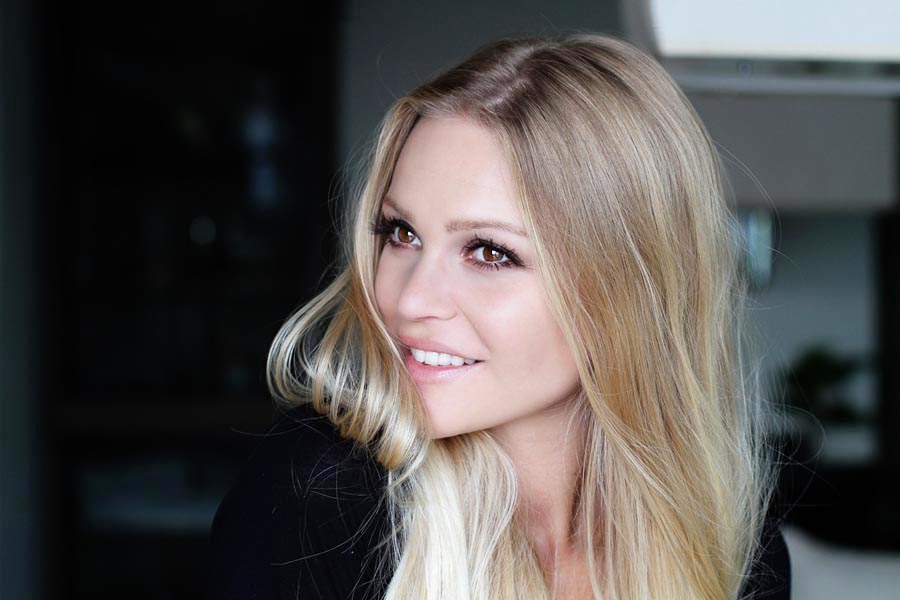
Contouring
♥ Use a matte greyish brown product (contouring product) where you want to create shadows, and to make something appear smaller. It’s just as important as to find the right shade as to find a matte product. Bronzers are often too orange, so use either a darker face powder or a blush.♥ Use a light toned matte or shimmery product (highlighter) where you want to accentuate and highlight, and make something appear bigger. A shimmery product looks great on the cheeks, but for the nose a matte highlighter will look better.
Slimmer nose: Use a highlighter along the bridge of your nose, and create shadows using a contouring product along the sides.
Shorter nose: Use a contouring product just underneath the tip of your nose.
Hide double chin: Apply the countouring product along your jaw line and in a triangular area with the tip of your chin being the tip of the triangle.
Accentuate cheekbones: Apply a highlighter on top of your cheekbones (where you can feel the bone) and blend upwards. Use a contouring product just underneath you cheekbones. This line should go from the top of your ear towards the corner of your mouth, and the line should be at its strongest in the midle, fading out at both ends.
Make your face more narrow: Apply a contouring product along the sides of your face, and use the technique for accentuating cheekbones.
Make your jaw appear more narrow (great for wide square and triangle face types): Apply a contouring product on the side of your jaw just inbetween your cheekbone and your lower jawline. It can also be wise to apply a highlighter to the sides of your forehead as this will even out your face shape.
Make your face shorter (great for oblong face types): Apply a contouring product on the top of your forehead and in a triangular area with the tip of your chin being the tip of the triangle, and blend upwards. Apply a highlighter on top of your cheekbones, making your face appear wider.
Fuller lips: Line your lips with a lipliner making the line strongest in the midle, and fading out towards the corners of your mouth. Use a highlighter (like a liquid highlighter or a nude coloured lipstick) in the midle of your lips, and lightly dab a lipstick a smidgen darker than of the colour of your lips on the rest of your lips. For extra pouty lips you can dab a bit of lipgloss just in the midle on top of the nude/highlighted area. You can read even more about contouring lips in this post.
sumber : http://bycelina.com/beauty-2/makeup-tutorials/makeup-tutorial-how-to-get-photoshoot-ready/
Makeup Tips for Photoshoots
- Always wear a matte finish foundation, so your face doesn’t look oily under the hot lights or camera flashes
- To add glowiness to the skin, apply cream blush or a cheek highlighter as you want shine to be only on your cheeks (not all over your face)
- Apply more color/makeup than you wear on a daily basis, as cameras wash out 30-40% color. If your makeup looks a bit too dramatic for everyday, then it’s perfect for camera!
- For clothing, wear brighter colors as it “pops” more. If you wear neutrals, go with a pattern so there’s visual interest in your picture. Definitely avoid plain white, nude, or black clothing. Find your best color, and wear that. For me since I’m a brunette with fairer skin, purples, teals, and greens look best on me.
- If you can, wear false lashes. The singles or the half lashes work great and come across more natural. (You obviously don’t want dramatic drag queen lashes for your headshots if you normally don’t wear much makeup everyday ;) ) If you’re not comfortable with false lashes, be sure to apply a good 2-3 coats of mascara. This is to make sure your eyes stand out and don’t disappear in the brighter lights.
sumber : https://www.makeupgeek.com/tutorials/photoshoot-ready-makeup/
How to Apply Makeup for Photos
Stuck on how and what type of makeup to apply for photos? This article will show you how to fulfill that lingering thought.
Ad
Steps
-
1Start with the base. Apply concealer as usual, taking extra care to conceal under-eye bags and discolouring using a yellow based concealer as this helps brighten the eye as well as hide unwanted colours underneath. For any around-the-nose redness a green pigmented concealer works wonders evening out the skin tones.Ad
-
2Add foundation. You may need your usual base foundation and a "highlighting" foundation on top for certain areas such as cheeks and on eyelids-as a primer. Foundation should be a bit more noticeable than usual because in photos the flash will usually make you look paler and a bit washed out so more foundation helps conquer these problems. When using powder only a very light dusting is needed-less than usual just to 'set' the foundation and help it stay. So it doesn't make the foundation paler. Use a translucent powder as this will not change the colour of the foundation.
-
3When using eyeshadow always do the crease of your eye. Many people enjoy wearing one color of eyeshadow, but in pictures a single eyeshadow color usually doesn’t show up, especially if you’re using neutral tones. Make sure to apply a dark color on to the crease of your eye. You can either do the full crease or just the outer crease. This will make your eyes appear rounder and it will accent your other makeup as well.
-
4For eyeliner and mascara- use dark. Preferably black not brown so it actually shows up in the photos. Brown mascara is commonly seen as being less noticeable and more natural so black is best.
-
5Go a little heavy on the blush so you don't end up looking pale and a tad washed out in the final on-screen photo. A rosy pink adds a natural yet noticeable glow to cheeks.
-
6The same goes for lips. If you don't normally wear any sort of stick or gloss on your lips then it may be an idea to do so. If you don't want to wear a heavy lipstick then a sheer or colour-tinted gloss can work wonders for the photo. It can make lips look fuller, plumper and less dried out and give them a sparkly or shiny tint or add colour to plain lips.
-
7Finished.
- sumber : http://www.wikihow.com/Apply-Makeup-for-Photos
op 5 Tips to Get Your Makeup Perfect For Your Photo Shoot
 Posted on June 12, 2014
  by Melissa Hoffmann
 4
4
Picture this: you have your big photo shoot tomorrow to get new photos for your website. You have an amazing photographer, three gorgeous new outfits, and the perfect location. You’ve decided to do your own hair and makeup and now you’re getting a little anxious about it, wondering if it will look good, if it will show up on camera, or what if you put too much on? How will you know if you’ll look super model perfect, or like one of the little girls from Toddlers and Tiaras?? Aaaak!
Don’t worry girl, I can help you! I’ve done hundreds of photo shoots, and I’m going to share with you my top five best tips to make sure your makeup looks perfect on camera and in your photos or video, and is good enough to go out to your favorite restaurant after for a celebratory dinner.
1. Start with super hydrated skin. Use a non greasy, lightweight moisturizer that will plump up your skin and keep it really hydrated. Leave the SPF for the beach, SPF is generally not photo friendly for flash photography. And if you’re not sure if your photographer will be using a flash, better safe than sorry. Your makeup will go on better on hydrated skin, and it you’re skin will look young and fresh. I use Embryolisse in my kit, but you can use your favorite moisturizer that works for your skin type.
2. Make sure your skin is matte. What this means is you don’t want your skin to look shiny and reflective, you want it to look flat. Shiny skin does not show up well in photos or on film, and can make you look like you have really oily skin, reflect too much light, or be really distracting. If your skin is dry, you probably don’t have to worry about this. If your skin is more on the oily side, you can use mattifiers or primers to absorb and prevent shine. Two of my favorites are The Porefessional from Benefit or Make Up For Ever’s All Mat.
3. Limit the use of shimmer, glitter and shiny makeup products. Actually make that no glitter, and only a little shimmer if you can’t do without it. These types of products can reflect light too much, or make your skin look really shiny. If I do add any luminizing products on a client during their shoot, I make sure it’s really subtle, and only highlighting the features a little. I may add a little in the inner corners of the eyes, top of the cheekbones, and cupid’s bow. I love these Ambient Lighting Powdersfrom Hourglass cosmetics. They are subtle but gorgeous, and have 6 shades to fit all skin tones.
4. Give yourself flawless skin. For the most part, you are probably going to want more of a fuller coverage foundation, along with using concealer and powder. You want your skin to look really even and pretty. You want enough coverage in your foundation products to cover any redness, blemishes, or discoloration in the skin, or dark circles, and of course, be matte. If you have even, blemish free skin, then you can use something a little sheerer like Make Up For Ever’s Face and Body Liquid Makeup. It evens out the skin tone and looks and feels really natural. But if you need more coverage, use Make Up For Ever’s HD Invisible Cover Foundation. It covers everything you need it to while still looking like skin.
5. You’re going to need more color in your face than you think. You don’t want your face to look washed out, and you want your features to stand out. This means you’ll probably need to apply more blush, contouring, brows and lips than you think you need. Take a selfie with your iphone to make sure your makeup stands out, and ask your photographer if you can see his or her screen at the beginning of your shoot. Bring your makeup with you in case you need a little touch up.
6. Define your eyes. You can really connect with your audience or clients with your eyes, and you want to make sure they stand out. To get eyes that pop in photos, make sure you use eyeliner on the top of your lashes, and on the bottom lashes too, or at least define under neath with a medium tone eyeshadow. Contour the crease of your eye socket with a medium toned shadow, and blend out the edges really well with a large fluffy eye shadow brush. And don’t forget lots of mascara, at least 2 coats. Bonus points if you do false eyelashes!
7. All day shoot? Use a setting spray to make your makeup last through the last shot. You can also use a translucent powder and blotting papers for touch ups for shine. My favorite setting spray is Make Up For Ever’sMist and Fix. It sets your makeup so it lasts all day, but also keeps it fresh and from looking cakey.
What are your favorite tips for photo shoot perfect makeup? What products are your favorite for makeup that lasts all day? I’d love to hear from you in the comments below! And if you found this post helpful, please share it with your friends!
sumber : http://melissahoffmann.com/top-5-tips-to-get-your-makeup-perfect-for-your-photo-shoot/


Tidak ada komentar:
Posting Komentar